
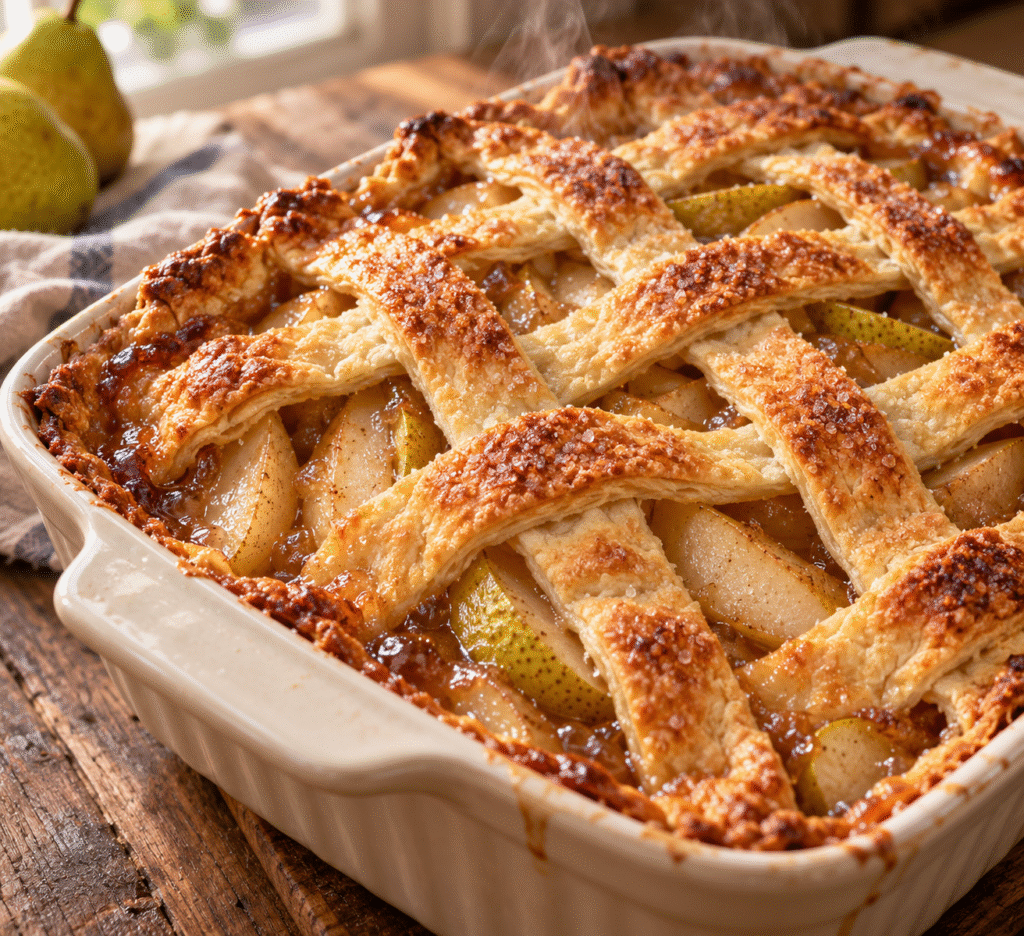
There is a particular kind of optimism involved in deciding to make dessert on Thanksgiving morning.
The turkey needs the oven. Someone wants to know where the gravy boat is. You have three things on the stove, two things waiting for oven space and somebody has just arrived 45 minutes early.
This is not the ideal moment to start peeling apples.
Cobbler is one of the easiest fall desserts to move off your day-of cooking list. The fruit can be prepared early, toppings can be mixed and refrigerated or frozen, and in many cases most of the dessert can be assembled before your guests ever arrive.
A good make ahead cobbler plan isn’t complicated. You simply need to know which parts benefit from early preparation and which are better left until baking day.
Key Takeaways
- Most cobbler prep can be completed a day before baking.
- Fruit fillings and toppings can often be prepared separately and frozen.
- For the best texture, keep biscuit-style toppings separate from very juicy fruit until you’re ready to bake.
- Refrigerated leftovers are generally best used within three to four days.
- A freezer maintained at 0°F (-18°C) keeps properly frozen food safe, although texture and flavor eventually decline.
- Label everything with the dessert name and preparation date. You will absolutely believe you’ll remember what’s in that frozen container. Three weeks later, you won’t.
Why Make Cobbler Ahead?
Holiday cooking is largely a scheduling problem.
The recipes themselves are rarely the difficult part. The problem is getting six dishes ready at roughly the same time with one oven and a kitchen that suddenly seems half its normal size.
Dessert is one of the easiest jobs to move.
Cobblers are especially well suited to early preparation because they are forgiving. Apples, pears, peaches, berries and cherries can all be prepared in advance with a little attention to moisture and browning.
There is another advantage.
Preparing fruit early gives sugar and spices time to mingle with it. That can deepen the flavor of a filling, although juicy fruit will also begin releasing liquid. That is why knowing when to add your thickener and topping matters.
Then there is cost.
Fall fruit is often worth buying when it is abundant rather than waiting until the exact day you need it. Preparing and freezing fruit can turn a good farmers market purchase into dessert weeks later.
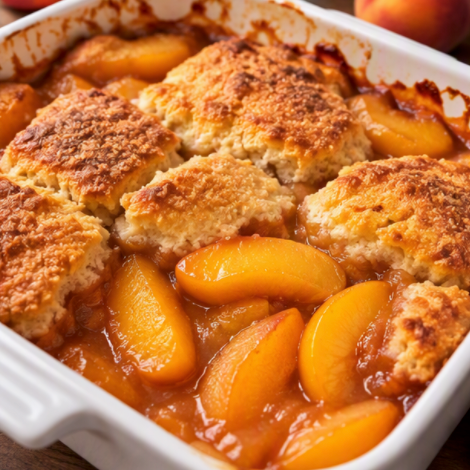
How Far Ahead Can You Prepare Cobbler?
There isn’t one answer because “making cobbler ahead” can mean several things.
You might prepare the fruit.
You might make the topping.
You might assemble the entire dessert.
Or you might fully bake it and reheat it later.
Here is the practical approach.
One Day Ahead
This is the easiest option and usually gives you the best finished texture.
Prepare the fruit filling and refrigerate it in a covered container. Prepare the topping separately and refrigerate that as well.
The next day, put the fruit into your baking dish, add the topping and bake.
Very little work. Very little compromise.
Several Days Ahead
Freezing the prepared components separately is usually preferable.
Prepare your fruit filling and freeze it in an airtight freezer-safe container. Make your crumble or biscuit mixture separately and freeze that.
Bring the components together when you’re ready to bake.
Several Weeks Ahead
Freezing becomes the better choice.
For home baking, I like using frozen cobbler components within about a month when possible. That isn’t because food suddenly becomes unsafe after 30 days.
It’s about quality.
The FDA notes that food continuously stored at 0°F (-18°C) can remain safe indefinitely, but flavor, aroma, color, juiciness and texture can deteriorate during extended freezer storage.

For something you’re baking because you want it to taste great, quality matters.
Preparing Fruit Ahead Without Ruining It
Fruit is where most make-ahead cobbler problems begin.
The two biggest issues are browning and excess liquid.
Apples and Pears
Cut apples and pears begin browning after their flesh is exposed to air.
An acid treatment can slow that process. The National Center for Home Food Preservation recommends ascorbic acid treatments for preventing darkening in fruit and notes that lemon juice can sometimes be used, although it isn’t as effective as ascorbic acid.
National Center for Home Food Preservation Fruit Freezing Guide
For a cobbler you’re making tomorrow, a little lemon juice also has a flavor advantage. Apples and pears usually benefit from some acidity anyway.
Peaches and Nectarines
Peaches freeze well, but they can release considerable juice as they thaw.
That isn’t necessarily bad.
That juice tastes fantastic.
You simply need to account for it when thickening the filling. If your thawed fruit is swimming in liquid, don’t automatically pour everything into the baking dish and hope the topping sorts it out.
It won’t.
Berries
Berries are arguably the easiest cobbler fruit to freeze.
Wash them carefully, dry them thoroughly and remove any damaged fruit before freezing.
For loose berries rather than one giant frozen berry brick, spread them in a single layer on a tray first. Once frozen, transfer them to a freezer container or bag.
This also lets you take exactly what you need later.
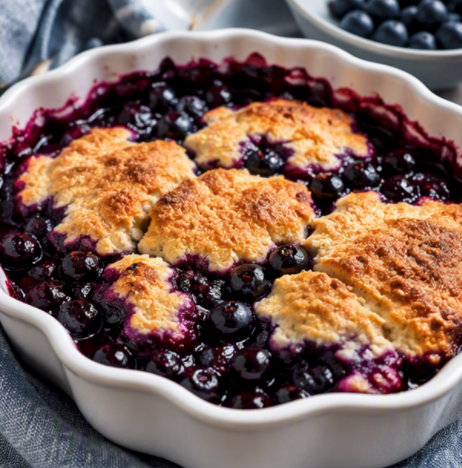
Control the Juice Before It Controls Your Cobbler
Watery cobbler usually isn’t caused by too much fruit.
It is caused by failing to account for the water inside that fruit.
Frozen fruit releases moisture as its cells break down. Sugar also pulls moisture from fresh fruit.
That means a filling that looked perfect when you assembled it can become surprisingly wet several hours later.
Cornstarch and flour are common solutions.
For particularly juicy fruit, I prefer cornstarch because it thickens without making the filling taste heavy.
Don’t go overboard.
You are making cobbler, not fruit jelly.
The filling should still move slightly when spooned onto a plate.
How to Store Cobbler Toppings
The fruit gets most of the attention, but your topping determines whether the final dessert tastes freshly baked or reheated.
Biscuit Topping
Keep biscuit dough cold.
If you’re preparing it one day ahead, refrigerate it tightly covered.
For longer storage, freeze portions of biscuit dough separately and place them over the fruit before baking.
Cold butter is your friend here.
Warm, overworked dough is not.
Crumble Topping
Crumble is wonderfully cooperative.
Mix flour, sugar, butter, oats and spices, then store the mixture in an airtight container in the refrigerator.
You can also freeze it.
Because the topping remains separate from the fruit, the butter and flour aren’t sitting in juice overnight becoming soggy.
Cake-Style Cobbler Batter
This is one topping I prefer preparing closer to baking.
Once baking powder or another leavening ingredient becomes wet, you’re starting a chemical reaction that you eventually want happening inside the oven.
Prepare the dry ingredients early instead.
Then add the wet ingredients when you’re ready to bake.
It takes another two minutes and produces a better result.
Should You Freeze Cobbler Assembled or Separately?
You can do either.
But they aren’t equal.
If I have the choice, I freeze the components separately.
Fruit goes into one container.
Topping goes into another.
Then I combine them before baking.
This gives you better control over moisture and keeps the topping from absorbing fruit juices while everything freezes and thaws.
There are exceptions.
A crumble topping can handle being assembled over fruit better than a soft biscuit dough because the crumb mixture is already designed to bake into an irregular, crunchy layer.
Choosing the Right Freezer Container
Use containers designed for freezer storage.
They should seal tightly and resist moisture transfer.
For fully assembled cobblers, freezer-safe baking dishes are convenient because you don’t have to move the dessert into another dish later.
There is one important catch.
Be careful about moving certain glass dishes directly from a very cold freezer into a hot oven. Thermal shock can damage glass.
Follow the manufacturer’s instructions for your particular bakeware.
For component storage, freezer bags work particularly well for fruit because you can remove much of the excess air.
Label the package with:
- Type of fruit
- Amount
- Date prepared
- Any sugar already added
- Any spices already added
That final detail prevents the classic holiday mystery of adding cinnamon twice because nobody remembers whether it went in before freezing.
How to Layer a Cobbler for Better Results
When you’re ready to assemble, fruit goes on the bottom and topping goes above it.
Simple.
But resist the temptation to pack down the topping.
Those uneven gaps and edges are useful.
They allow steam to escape while giving the topping more exposed surface area to brown.
With biscuit cobblers, leave small openings between pieces of dough.
With crumble toppings, scatter rather than compress.
Rustic isn’t a flaw here.
It is part of why cobbler works.
Thawing Cobbler Safely
The refrigerator is the simplest place to thaw prepared cobbler components.
Move your frozen fruit into the refrigerator the night before you plan to bake.
Avoid leaving frozen food sitting on the kitchen counter for hours to thaw. USDA guidance identifies the refrigerator, cold water and microwave as safe methods for thawing leftovers rather than room-temperature thawing.
For fruit cobbler prep, the refrigerator is generally the most convenient because there’s no hurry.
Put the container on a plate or tray in case it leaks.
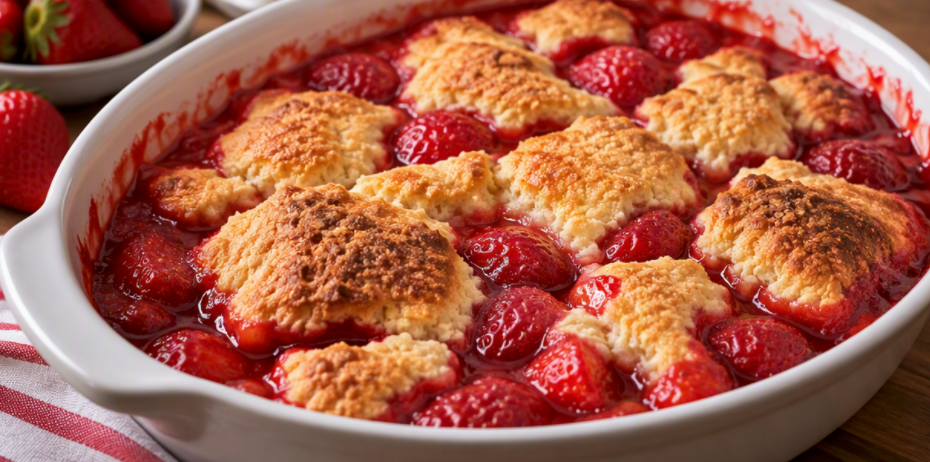
Can You Bake Cobbler From Frozen?
Often, yes.
But expect it to take longer.
A frozen fruit filling needs additional oven time simply because the center must heat from well below refrigerator temperature.
Keep an eye on the topping.
If the top is browning beautifully while the filling is still struggling to get hot, loosely cover the cobbler with foil and continue baking.
The most useful visual clue is the filling.
You want to see juices bubbling around the edges and, ideally, bubbling toward the center as well.
That tells you the filling has heated sufficiently for the thickener to do its job.
Then give the cobbler time to rest.
This may be the hardest instruction in the entire article.
It smells good. You want some.
Wait.
A 20-minute rest allows the filling to settle and thicken.
Reheating Leftover Cobbler Without Destroying the Topping
The microwave wins on speed.
The oven wins on texture.
If you have one serving and don’t particularly care whether the topping remains crisp, use the microwave.
For several portions, use the oven.
Place the cobbler in an oven-safe dish and heat it gently until warmed through. Leaving it uncovered for at least part of the reheating time helps restore some texture to the topping.
A microwave traps more moisture around the crust, which is why yesterday’s crisp topping can emerge soft.
Still delicious.
Just different.
How Long Does Leftover Cobbler Last?
A sensible target for refrigerated leftovers is three to four days.
USDA guidance recommends refrigerating leftovers promptly at 40°F or below and using them within three to four days, or freezing them for longer storage.
That makes labeling useful in the refrigerator too.
“Apple cobbler” isn’t enough.
Write the date.
Future you will appreciate the effort.
A Thanksgiving Cobbler Timeline
Here is how I’d handle dessert if Thanksgiving dinner were Thursday evening.
Weekend Before
Buy your ingredients.
If you’re using fruit that needs trimming, peeling or sorting, inspect everything now.
Make sure you also have butter, flour, sugar, cornstarch and spices.
Discovering you’re out of cinnamon on Thanksgiving afternoon is an unnecessarily annoying plot twist.
Tuesday
Make any crumble topping.
Refrigerate or freeze it.
Measure dry ingredients for biscuit toppings if you’re using them.
Wednesday
Prepare the fruit filling.
Refrigerate it overnight.
If you’re making biscuit topping, prepare it and refrigerate separately.
Thursday Morning
Check the filling.
If the fruit has released considerably more juice overnight than expected, adjust the thickener if necessary.
Before Dinner
Assemble the cobbler.
Bake it before you need the oven for last-minute dinner items, or put it in once the main dishes come out.
Cobbler does not need to arrive at the table screaming hot.
Warm is better.
Christmas and Larger Holiday Gatherings
For a larger Christmas dinner, I would move even more work into the freezer.
Make fruit fillings in batches.
Make crumble topping in a large batch.
Portion both according to the size of your baking dishes.
Now you aren’t really making three desserts.
You’re assembling three desserts from ingredients you’ve already prepared.
That distinction feels pretty significant when twelve people are about to walk through your door.
Batch Baking Mini Cobblers
Individual cobblers are useful when you’re cooking for smaller households or want desserts ready throughout the week.
Small oven-safe ramekins work beautifully.
Fill each with prepared fruit and topping, then bake only what you need.
You can also experiment with muffin-size versions, although you’ll need to reduce baking time considerably and watch them closely.
Individual portions are particularly useful when different people want different combinations.
Apple-cranberry for one person.
Pear-blackberry for another.
Peach for the person who refuses to acknowledge that summer has ended.
Everyone wins.
A Simple Fall Cobbler Formula
Once you understand the basic ratios, you don’t need a separate recipe for every fruit combination.
For an average family-size cobbler, start with roughly:
- 6 cups prepared fruit
- 1/2 to 3/4 cup sugar depending on fruit sweetness
- 1 to 3 tablespoons cornstarch depending on juiciness
- 1 tablespoon lemon juice
- Cinnamon, nutmeg, ginger, cardamom or vanilla to taste
- One batch of biscuit or crumble topping
Taste the fruit before deciding how much sugar to use.
A tart cranberry mixture and a ripe pear cobbler should not receive identical treatment.
Recipes provide measurements.
Your fruit gets the final vote.
Frequently Asked Questions
Can I make cobbler the night before?
Yes. For the best texture, prepare and refrigerate the fruit filling and topping separately, then assemble and bake the following day.
How long can I freeze cobbler?
Properly frozen food kept continuously at 0°F (-18°C) remains safe for a very long time, but quality gradually deteriorates. For homemade cobbler, using it within about a month is a practical quality-first approach rather than a food-safety deadline.
Should I thaw frozen cobbler before baking?
You don’t always have to, but baking from frozen requires more time. If you’ve frozen the fruit and topping separately, refrigerator thawing gives you more control over the filling before baking.
Can I freeze apple cobbler?
Yes. Apples freeze particularly well for baked desserts. Treating sliced apples with ascorbic acid can help reduce browning during preparation and freezing.
Can I freeze peach cobbler?
Yes. Peaches are very freezer friendly. Account for the additional juice they may release after thawing.
Why is my thawed cobbler watery?
Freezing damages some of the fruit’s cell structure, allowing more liquid to escape during thawing. Your filling may therefore require careful draining or sufficient thickener.
Can I refrigerate unbaked cobbler overnight?
Usually, but you’ll get a better topping if you refrigerate the filling and topping separately and combine them shortly before baking.
How long do cobbler leftovers keep?
A good general food-safety guideline is to refrigerate leftovers promptly and use them within three to four days.
Make Dessert the Easy Part
Holiday cooking doesn’t award bonus points for doing everything at the last minute.
Prepare the fruit when the kitchen is quiet. Mix your topping before you need it. Label the containers. Put them away.
Then, when everyone arrives, dessert is mostly handled.
That is the real advantage of a make ahead cobbler. It isn’t simply about freezing food. It’s about moving work from the busiest part of your holiday into a time when you can actually enjoy doing it.
And when a bubbling apple, pear or berry cobbler comes out of the oven, nobody at the table needs to know you did most of the work three days ago.