

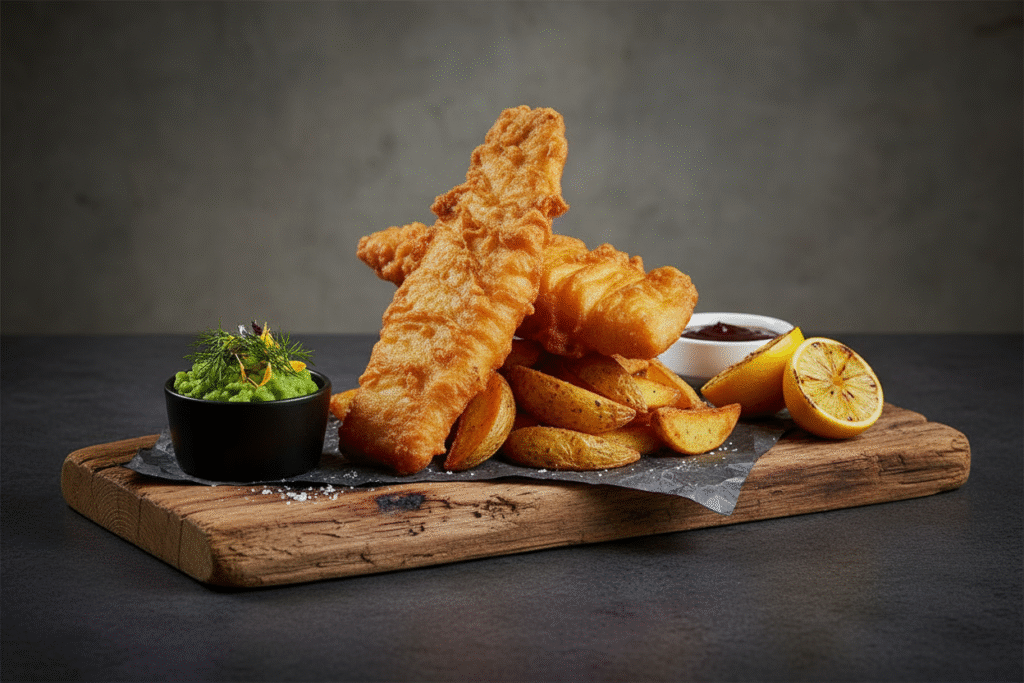
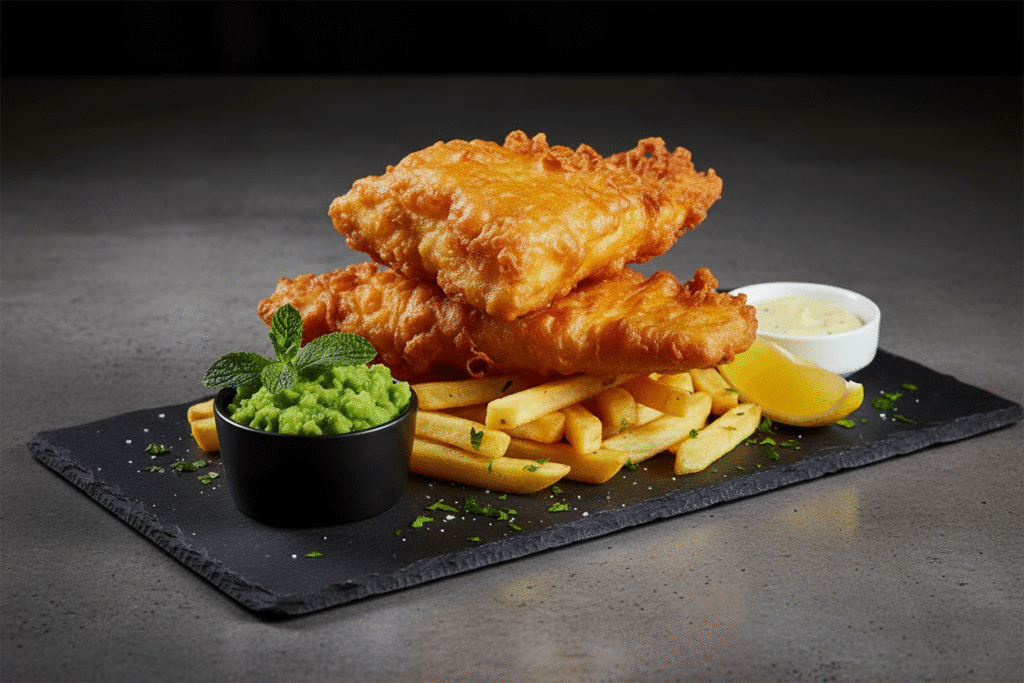
If you’ve ever stood in line at a proper chippy on a Friday night, you know there’s something magical about fish and chips done well. The smell of that crispy batter, the sound of it cracking when you break into it, and those thick, fluffy chips alongside creamy mushy peas – it’s comfort food at its absolute best.
The thing is, most people think fish and chips is too tricky to make at home. They figure it’s best left to the professionals. But honestly? With the right technique and a bit of patience, you can nail it in your own kitchen. And when you do, it’s so much better than anything you’d get from a takeaway.
Getting the Batter Right
The secret to that incredibly crispy coating is actually pretty simple – cold beer batter and hot oil. When that cold batter hits the hot oil, it creates steam that puffs everything up and makes it light and crunchy. I like using a lager or pale ale, nothing too fancy. The carbonation in the beer does most of the heavy lifting.
Mix your flour with cornstarch (that’s the real trick for extra crunch), add your seasonings, then whisk in the cold beer and egg until it’s smooth. Keep it in the fridge until you’re ready to fry. That temperature difference really matters.
Choosing Your Cod
Cod is the traditional choice for fish and chips for good reason. It’s got thick, meaty flakes that hold up beautifully to frying, and the flavor is mild enough that it doesn’t fight with the batter. Look for fresh fillets that are firm to the touch, with a clean ocean smell – nothing fishy or ammonia-like. You want pieces that are about six ounces each and roughly the same thickness so they cook evenly. If your fishmonger hasn’t already done it, make sure all the skin and bones are removed. Fresh cod makes all the difference here, so it’s worth seeking out a good fish counter rather than grabbing whatever’s in the freezer section.
The Twice-Fried Chip Method
Here’s where people usually go wrong with homemade chips – they only fry them once. But if you want chips that are crispy on the outside and fluffy in the middle, you need to fry them twice. It sounds like extra work, but it’s what makes all the difference.
The first fry at a lower temperature cooks the potato through and starts the crisping process. Then you let them rest while you get everything else ready. Right before serving, you hit them with a second fry at higher heat to finish them off. They come out perfect every single time – golden, crispy, and with that soft, fluffy center.

Don’t Skip the Mushy Peas
I know mushy peas divide people, but hear me out. When they’re done right – with butter, a splash of cream, and a squeeze of lemon – they’re the perfect creamy contrast to all that crispy, fried goodness. They take maybe five minutes to make, and they really complete the whole experience.
Bringing It Together
The timing matters here. Get your chips through their first fry early. Make your mushy peas and keep them warm. Mix up your batter and keep it cold. Then, when you’re ready to eat, do the second fry on the chips, get them draining, and fry your fish. Everything should come together hot and fresh at the same time.
Pat your cod really dry before you flour it and dip it in batter – any moisture will make the batter slide off. Lower it gently into the oil and don’t crowd the pan. Give each piece space to cook properly. Five to seven minutes and you’ll have fish with batter so crispy it shatters when you cut into it.
Recipe
Ingredients
For the Beer-Battered Cod
- 4 fresh cod fillets (about 6 oz each, skinless and boneless)
- 1 cup all-purpose flour (plus extra for dredging)
- 1 cup cornstarch (for extra crispness)
- 1 tsp baking powder
- 1 tsp salt
- 1 tsp paprika (optional, for flavor)
- 1 cup cold beer (lager or pale ale works best)
- 1 egg, lightly beaten
- Oil for deep-frying (canola, sunflower, or peanut oil)
For the Thick-Cut Fries
- 4 large russet potatoes
- Oil for frying
- Salt to taste
For the Mushy Peas
- 2 cups frozen peas
- 2 tablespoons unsalted butter
- 2 tablespoons heavy cream (or milk)
- 1 tsp fresh lemon juice
- Salt and pepper to taste
- Optional: a few fresh mint leaves
For Serving
- Lemon wedges
- Malt vinegar
Instructions
Prepare the Fries (Twice-Fried for Crispiness)
- Peel potatoes and cut into thick chip shop style fries.
- Soak in cold water for 30 minutes to remove excess starch. Drain and pat completely dry.
- Heat oil to 325°F. Fry the potatoes in batches for 5 to 6 minutes until tender but not browned. Remove and let drain.
- Just before serving, heat oil to 375°F and fry potatoes again for 3 to 4 minutes until golden and crispy. Season with salt immediately.
Make the Mushy Peas
- Boil peas in salted water for 3 to 4 minutes until tender. Drain well.
- Mash with butter, cream, lemon juice, salt, pepper, and mint if using. Keep warm.
Prepare the Beer Batter
- In a large bowl, whisk together flour, cornstarch, baking powder, salt, and paprika if using.
- Make a well in the center, pour in beer and beaten egg, then whisk until smooth. Batter should be thick enough to coat the back of a spoon.
- Keep batter chilled until ready to fry – cold batter makes crispier fish.
Fry the Cod
- Heat oil to 350°F.
- Pat cod fillets completely dry with paper towels. Lightly dredge each fillet in flour.
- Dip fillets into the cold beer batter, let excess drip off, then carefully lower into hot oil.
- Fry for 5 to 7 minutes until golden brown and crispy. Remove and drain on paper towels.
The Final Touch
Serve everything up hot with plenty of lemon wedges and malt vinegar on the side. Everyone likes to dress their fish and chips differently, so put it all out and let people go to town. And if you’ve got a cold beer on hand? Even better.
This recipe serves four people generously, though in my experience, everyone always wants seconds. There’s just something about homemade fish and chips that hits different. Maybe it’s because you put the work in yourself, or maybe it’s because it’s actually fresher and crispier than what you’d get from most takeaways. Either way, once you’ve made it at home, you’ll want to do it again.
Give it a shot this weekend. Your kitchen will smell amazing, and you’ll wonder why you ever thought this was too complicated to tackle at home.