
Key Takeaways
Focaccia is an inviting bread to bake because it rewards patience without demanding complicated shaping or equipment.
- A wet, well-olive-oiled dough creates focaccia’s airy crumb and crisp surface.
- Stretch-and-folds build structure while keeping the process gentle.
- Same-day and overnight fermentation both work, though they create different flavors.
- Deep dimples hold oil, herbs, and other toppings in every bite.
- A hot oven and thoroughly oiled pan are central to a crisp bottom.
What makes focaccia bread unique
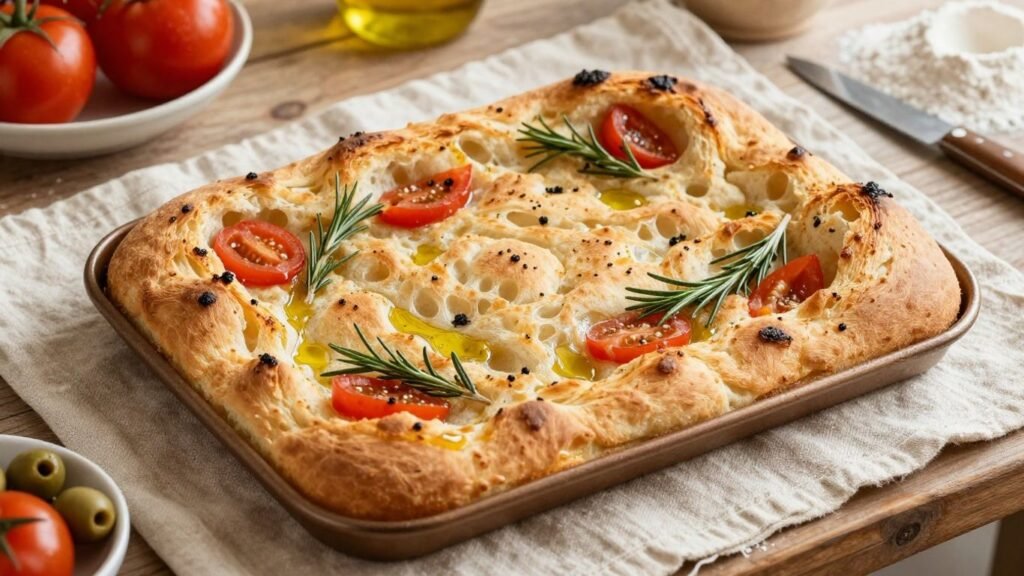
Focaccia sits somewhere between a loaf and a flatbread, with a tender interior, a rich olive-oil flavor, and a surface made for toppings. It is humble enough for a weeknight but distinctive enough to anchor a memorable meal. At Chefworx, it belongs naturally among the recipes and culinary stories that make everyday cooking feel like a flavorful escapade.
How focaccia differs from other yeast breads
Unlike a tall sandwich loaf, focaccia is usually baked in a broad pan, so it develops more crust relative to its height. The dough is soft and generously hydrated, then spread rather than tightly shaped. That relaxed approach gives the finished bread an open crumb, chewy edges, and a pleasantly rustic appearance.
A loaf often depends on a carefully formed outer skin to hold its rise. Focaccia gets much of its character from the pan, the oil, and the gentle handling. It does not need to look perfectly symmetrical; uneven bubbles and dimples are part of its charm.
The role of olive oil in flavor and texture
Olive oil is not merely a finishing drizzle here. Mixed into the dough, it contributes a supple bite, while oil beneath the dough helps fry the lower crust gently as the bread bakes. More oil over the surface settles into the dimples and creates little savory pools around herbs or vegetables.

Choose an oil whose flavor you enjoy on its own. A mild one lets the wheat and toppings lead, while a peppery extra-virgin oil gives the bread a more assertive finish. The goal is richness without leaving the crumb heavy.
Why the dough stays airy and moist
The dough contains enough water to remain loose and extensible, which gives yeast room to create bubbles throughout the crumb. Time matters, too. As fermentation continues, the dough develops flavor and becomes easier to stretch without tearing.
This is why a sticky dough should not be “fixed” immediately with extra flour. Flour changes hydration and can make the bread dense. A light coating of oil on your hands and work surface is usually the better answer.
The signature dimples and crisp crust
Dimpling serves both a visual and practical purpose. Pressing your fingertips into the risen dough redistributes some of the larger bubbles, creates pockets for oil, and anchors toppings so they do not simply slide off. Press gently enough to keep the overall lift intact.
The ideal crust has browned edges and a lightly crisp top, while the center stays springy and moist. That contrast is the bite people remember: crackle first, then a soft, chewy interior.
Ingredients for homemade focaccia bread
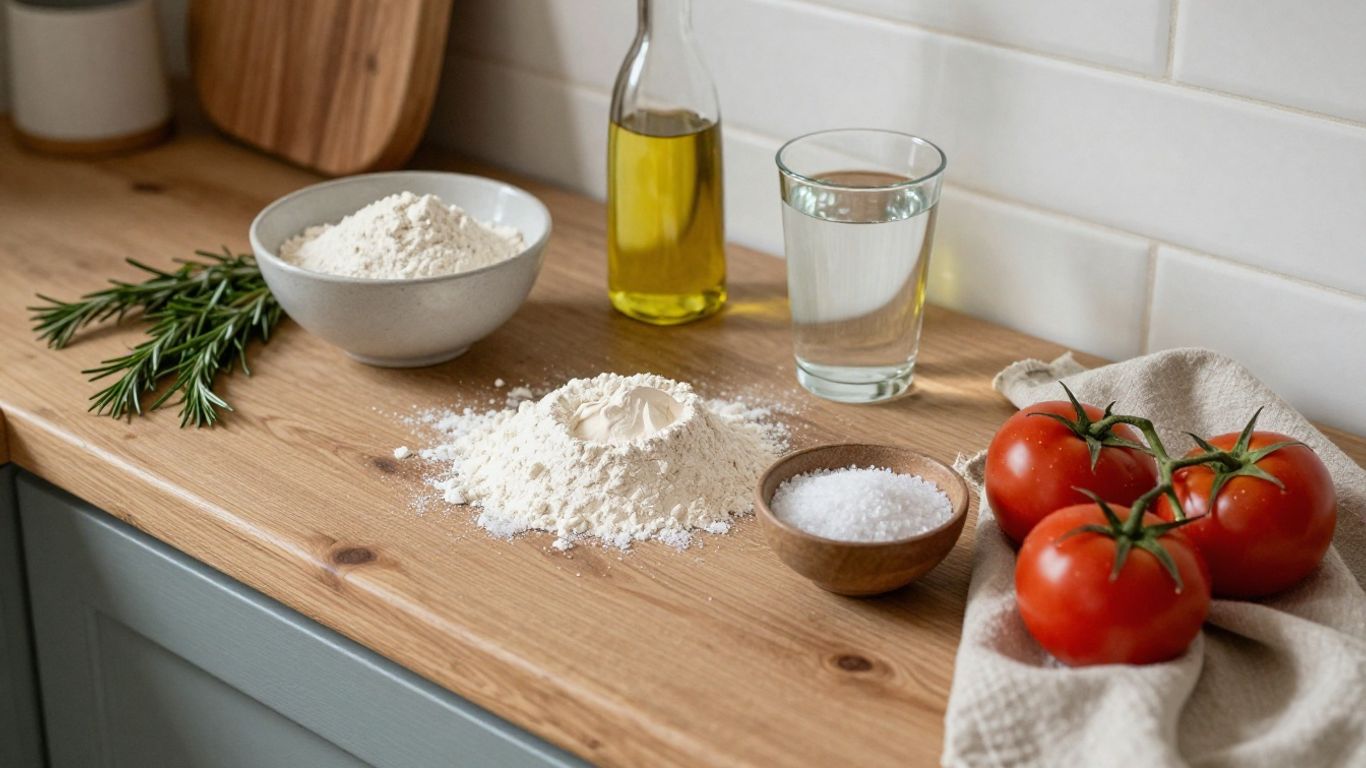
The ingredient list is short, but each element has a clear job. Flour supplies structure, water controls the crumb, yeast creates lift, salt sharpens flavor, and olive oil brings tenderness and crust. Start with dependable basics, then add toppings according to the meal you have in mind.
Choosing flour for structure and chew
All-purpose flour works well for a tender, approachable loaf, while bread flour generally gives more chew and strength. Either can produce excellent focaccia when the dough is handled patiently. If you are new to high-hydration doughs, all-purpose flour can feel a little easier to mix and spread.
The important point is consistency. Different flours absorb water differently, so hold back a small splash of the measured water until the dough begins to come together. You can add it if the mixture looks unusually stiff.
Using yeast, water, salt, and olive oil
Use lukewarm water rather than hot water, since excessive heat can damage yeast. Salt seasons the crumb and helps the dough develop strength. Olive oil should be present in the dough and generously used to coat the pan and surface.
Exact quantities vary by recipe, but the visual cues remain useful: the mixed dough should look shaggy and sticky, the proofed dough should wobble slightly, and the baked bread should feel light for its size. A simple focaccia recipe can be a helpful reference when you want a straightforward starting point.
Fresh versus instant yeast
Fresh yeast and instant yeast can both raise focaccia, though they are handled differently. Instant yeast can usually be mixed directly with the flour, while fresh yeast is commonly crumbled into the liquid first. Active dry yeast may need a short blooming step depending on the package directions.
Whichever form you use, check its freshness and give fermentation enough time. Yeast is not a stopwatch; room temperature, water temperature, and dough quantity all affect the pace.
Optional toppings and flavor additions
Toppings should add flavor without weighing down the dough or releasing too much water. Rosemary and flaky salt are classic, but the bread welcomes a wide range of accents. A little restraint helps the crust stay crisp and the crumb remain airy.
Good choices include:
- Fresh rosemary, thyme, or oregano for a fragrant herbal crust.
- Thinly sliced garlic or roasted garlic for deeper savory flavor.
- Cherry tomatoes, olives, or onions in modest amounts.
- Grated cheese or crumbled cheese added near the surface.
Add wet toppings thoughtfully, especially vegetables. Pat them dry first, and avoid covering every inch of the dough. The most successful topping combinations leave some golden crust exposed.
How to make the focaccia dough
Making focaccia dough is less about force and more about timing. The first mix may look rough, but resting and folding gradually turn it into a stretchy, cohesive mass. Give the dough room to develop before deciding that it needs more flour or more work.
Mixing the ingredients into a sticky dough
Combine the flour, yeast, and most of the water, then add salt and olive oil as directed by your recipe. Stir with a spoon or sturdy spatula until no dry patches remain. The dough may cling to the bowl and look uneven at this stage, which is completely normal.
Cover it and let it rest briefly. This pause allows the flour to absorb water and makes the next handling much less frustrating. A beginner-friendly focaccia method is useful for seeing how little hands-on work this style of bread requires.
Building gluten without traditional kneading
Traditional kneading is not essential because a wet dough can develop structure through rest and repeated folding. Rather than pressing it hard against the counter, you will gently stretch portions of the dough and fold them over themselves. Each round makes the dough smoother and more elastic.
Keep your hands lightly oiled or wet. Excess flour works against the soft texture you are trying to preserve, while a little oil lets you handle the dough cleanly without tightening it.
Using stretch-and-fold techniques
After the first rest, lift one side of the dough, stretch it upward until you feel resistance, and fold it into the center. Turn the bowl and repeat around the dough. Cover it again, wait, and complete another round or two as the dough gains strength.
The process is easy to fit around other kitchen tasks. These are the useful cues to watch for during folding:
- The dough begins to hold a rounded shape between folds.
- The surface becomes smoother instead of ragged.
- The dough stretches farther before tearing.
- Small bubbles appear along the sides of the bowl.
After the final fold, leave the dough undisturbed for fermentation. It should feel alive and elastic rather than stiff. If it still spreads immediately, give it another rest before attempting to move it.
Knowing when the dough is properly hydrated
Properly hydrated focaccia dough is soft, tacky, and capable of stretching. It may cling to your fingers, but it should not look like a pourable batter. When lifted with oiled hands, it should gather into a loose sheet before settling back into the bowl.
Avoid judging hydration by appearance alone in the first few minutes. Flour needs time to absorb water, and the dough becomes easier to read after resting. Trust the dough’s texture more than the urge to make it neat immediately.
How to proof and shape the dough
Proofing is where the dough develops both volume and character. A warm, same-day rise is convenient, while a slow refrigerator rise gives you flexibility and deeper flavor. Whichever route you choose, use the dough’s appearance and feel as your guide rather than relying only on the clock.
Choosing between same-day and overnight fermentation
Same-day focaccia can be ready in a few hours, making it practical when you decide on bread at lunchtime. The crumb will still be soft and flavorful if the dough is given enough time to rise properly. For a more developed flavor and a flexible schedule, refrigerate the covered dough overnight.
Cold fermentation slows the yeast and lets the dough mature gradually. When you are ready to bake, bring it out and allow it to warm and expand before shaping. A cold-fermented focaccia guide offers another useful perspective on this slower approach.
Recognizing when the dough has risen enough
Look for a dough that has visibly expanded, feels buoyant, and shows bubbles beneath the surface. It should jiggle when the pan is moved gently. If the dough springs back immediately after a light touch, it may need more time; if it collapses dramatically, it may have gone too far.
Temperature changes the schedule considerably. A cool kitchen may need several extra hours, while a very warm room can move quickly. Use the clock as a reference, not a command.
Transferring the dough to an oiled pan
Pour a generous layer of olive oil into a baking pan before adding the dough. Ease the dough in rather than pulling it forcefully, then turn it once so both sides are coated. If it resists spreading, let it rest for 10 to 15 minutes before gently nudging it toward the corners.
The dough should fill most of the pan without being stretched thin. As it rests for its final proof, it will relax and expand. A pan with enough space also gives the edges room to brown instead of crowding them against the sides.
Creating deep dimples without deflating the dough
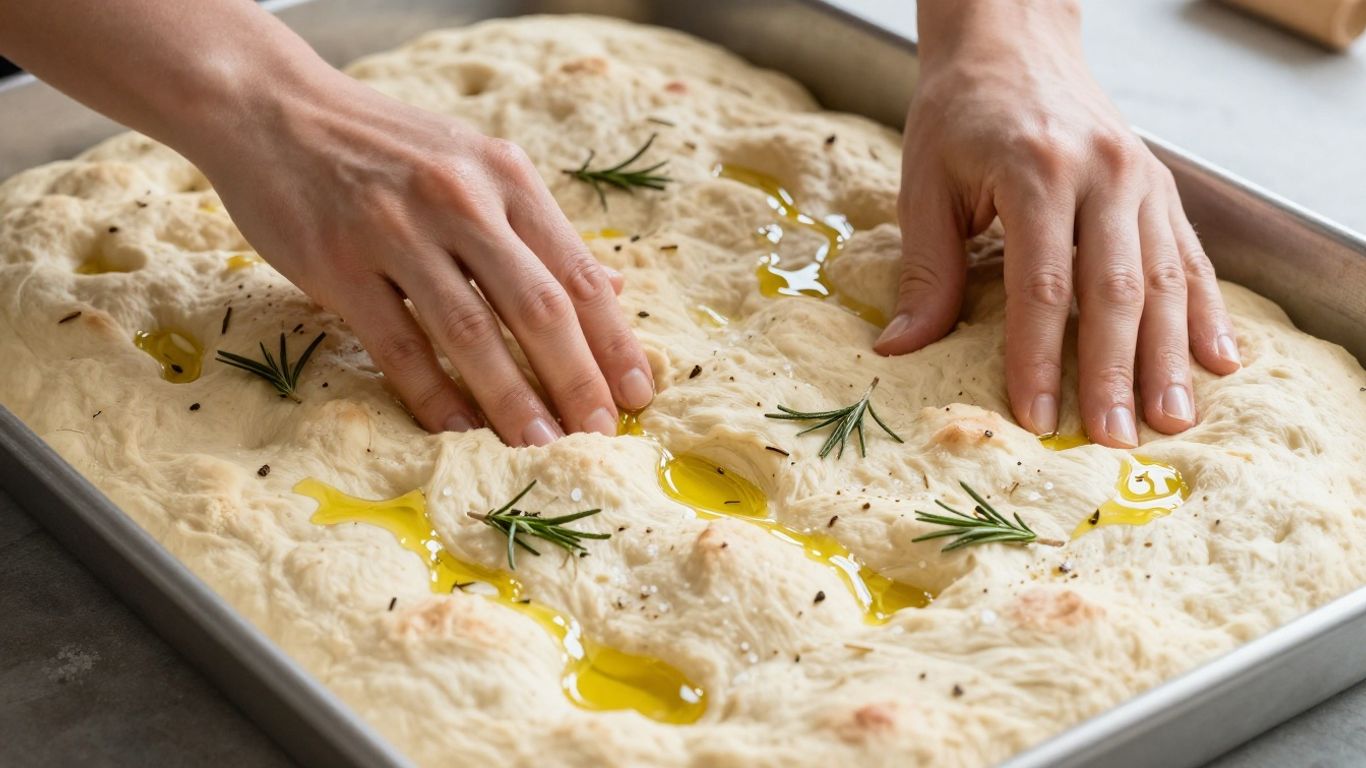
Oil your fingertips and press straight down through the risen dough, stopping before you scrape the pan. Make dimples across the surface in a loose pattern, leaving some bubbles intact. The pressure should create wells, not flatten the entire sheet.
Finish with another drizzle of olive oil and any toppings you are using. If the dough pulls away from your fingers or feels tight, pause for a few minutes and try again. Gentle patience produces a loftier result than repeated pressing.
How to bake focaccia bread
Baking turns the soft dough into something wonderfully contrasting: crisp at the edges, golden on top, and tender in the middle. A fully preheated oven matters because the first few minutes set the shape and begin browning the oil-coated surface. Keep an eye on the center as well as the crust.
Preparing the pan for a crisp bottom
Coat the pan thoroughly, including the corners and sides. A metal pan often encourages stronger browning, while glass may need careful monitoring because it can behave differently as it heats. The dough should sit in a visible layer of oil rather than directly against a dry pan.
If the bottom tends to stay pale, place the pan on a lower oven rack for part of the bake. Do not move it so low that the underside burns before the center is cooked.
Adding olive oil and toppings before baking
Dimple the dough immediately before it goes into the oven, then spoon oil over the top so it collects in the wells. Sprinkle salt evenly rather than concentrating it in one area. Add herbs and vegetables after the final rise, when their weight is less likely to interfere with expansion.
For a topping with significant moisture, use a light hand. Tomatoes, onions, and cheese all release or retain water, and too much can soften the top. A recipe featuring garlic and herb oil can inspire a particularly fragrant variation.
Setting the oven temperature and baking time
Use a thoroughly preheated oven and follow the temperature specified by your chosen formula. Focaccia generally benefits from a hot bake, but the exact time depends on the thickness of the dough, pan material, and toppings. Rotate the pan only if your oven browns unevenly.

Try not to open the door repeatedly. Each opening loses heat and can slow browning. Instead, begin checking toward the end of the suggested baking window, watching for a deeply golden surface and active bubbling around the edges.
Checking for a golden crust and fully baked center
The top should be richly golden, and the sides should look set and crisp. Lift a corner carefully if possible; the bottom should have developed color rather than remaining pale and soft. The center should feel springy when pressed lightly.
Let the bread cool for several minutes before cutting. Slicing immediately can release steam and make the interior seem gummy even when the focaccia is properly baked. That brief wait also makes the crumb easier to handle.
Troubleshooting common focaccia problems
Focaccia is forgiving, but small changes in fermentation, hydration, and heat can alter the result. Most problems have a practical explanation, and many can be corrected during the next bake. Treat each batch as information rather than a verdict on your bread-making ability.
Fixing dense or flat focaccia
Dense focaccia often comes from under-fermentation, too much added flour, or handling that pressed out too much gas. Give the dough more time if it has not visibly expanded, and resist the temptation to force it into the pan before it relaxes. A weak rise can also indicate old yeast or water that was too hot.
If the dough rose well but baked flat, check whether it was overworked during dimpling or spread too thinly in a large pan. Keep more of the bubbles intact and use a pan that suits the amount of dough.
Preventing a pale or soggy bottom
A pale bottom usually points to insufficient oil, a cool oven, an unsuitable rack position, or a pan that does not transfer heat effectively. Preheat fully, oil every corner, and give the bottom enough exposure to heat. Toppings with excess moisture can also soften the crust.
When the top is brown but the bottom is not, move the pan lower for the final portion of baking. If the center is already cooked, you can also remove the bread from the pan and return it briefly to the oven rack, watching closely.
Avoiding dry, tough, or overly greasy bread
Dry focaccia may have been baked too long, spread too thin, or made with extra flour added during mixing. Toughness can also come from insufficient hydration or aggressive handling. Greasiness, on the other hand, usually means the pan and surface received more oil than the dough could absorb comfortably.
A balanced loaf should taste rich but not slick. Measure ingredients carefully, use oil to prevent sticking rather than to compensate for a dry dough, and let the crumb finish setting before judging its texture.
Adjusting the dough for cold or humid kitchens
Cold kitchens slow fermentation, so place the covered bowl somewhere comfortably warm and allow extra time. Avoid extreme heat, which can make the dough ferment unevenly and weaken its structure. In humid weather, flour may absorb moisture differently and the dough can feel looser than expected.
Make small adjustments rather than changing everything at once. Hold back a little water in a humid kitchen, or add a short rest in a cold one. The dough should remain soft; the aim is control, not stiffness.
Serving, storing, and customizing focaccia bread
Fresh focaccia is at its most tempting while the crust is still crisp and the crumb warm. It can accompany a meal, become the base of a sandwich, or stand on its own with olive oil for dipping. For Chefworx readers, it is also a reminder that a simple staple can open the door to regional flavors, seasonal produce, and a little culinary travel from your own kitchen.
Best ways to serve focaccia
Serve thick pieces alongside soup, salad, roasted vegetables, or grilled foods. For sandwiches, split the bread horizontally and choose fillings that complement its olive-oil richness without making it soggy. A smaller square makes an easy appetizer with marinated vegetables or soft cheese.
The bread also works beautifully as a table centerpiece. Tear it rather than slicing it into perfect portions, especially when the crust is irregular and full of crisp edges. That casual presentation suits focaccia’s generous character.
Storing leftovers at room temperature or in the freezer
Keep focaccia in an airtight container or tightly wrapped at room temperature for a day or two. Refrigeration can make bread stale more quickly, so use it only when necessary. For longer storage, wrap individual portions well and freeze them.
Freeze pieces once they have cooled completely. Marking the date on the wrapping helps you use them while the flavor is still fresh. Thaw at room temperature or reheat directly from frozen, depending on the size of the piece.
Reheating focaccia while preserving its texture
A hot oven or toaster oven is usually the best way to restore the contrast between crisp crust and tender crumb. Warm the bread until the surface feels lively again, taking care not to dry the center. A few drops of water on the crust can help larger pieces refresh without becoming hard.
Microwaving is fast but tends to soften the crust. If you use it, heat in short bursts and finish the piece in a dry skillet or hot oven when possible. That small extra step brings back some of the original texture.
Flavor variations with herbs, vegetables, and cheese
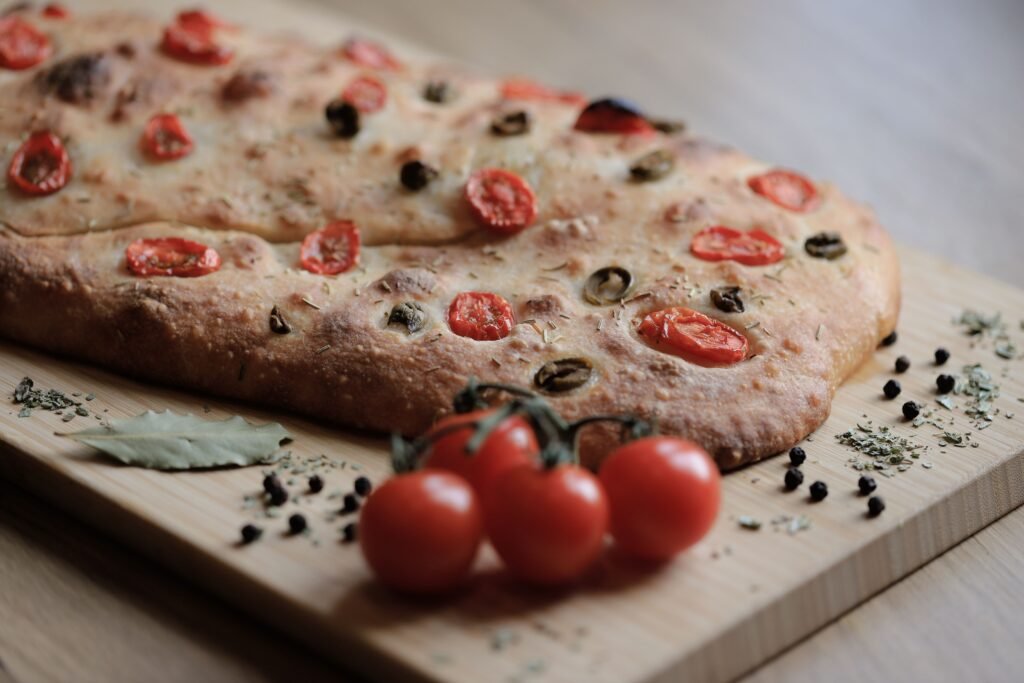
Focaccia is an excellent canvas for seasonal ingredients. Try rosemary and lemon zest in spring, sliced tomatoes and basil in summer, or caramelized onions and thyme in cooler months. Use firm vegetables in thin slices, and consider roasting wetter ingredients first.
Cheese can be scattered over the surface near the end of baking so it browns without burning. Olives, peppers, garlic, and seeds bring different textures, while a final drizzle of good olive oil ties the flavors together. For a reliable base, easy homemade focaccia offers another route to a soft, springy loaf.
Conclusion
Focaccia rewards a relaxed approach: mix a soft dough, build strength with folds, give fermentation enough time, and let olive oil and heat create the crust. Once you understand those few principles, the bread becomes a welcoming place to experiment with herbs, vegetables, cheese, and the flavors of the season.
Frequently Asked Questions
What is focaccia bread?
Focaccia is a yeast-leavened Italian-style bread baked in a broad pan. It is known for its airy crumb, olive-oil-rich crust, and dimpled surface.
Does focaccia dough need to be kneaded?
No. Resting and stretch-and-fold techniques can develop enough gluten for focaccia without traditional kneading. The dough should become smoother and more elastic over time.
Why is focaccia dough so sticky?
Focaccia uses relatively high hydration to create a light, open crumb. Oil or wet hands make it easier to handle without adding excess flour that could make the finished bread dense.
Can focaccia be made the same day?
Yes. A same-day dough can rise and bake within a few hours when kept in a suitably warm kitchen. Longer fermentation, including an overnight rise, generally gives you more scheduling flexibility.
How do you get deep dimples in focaccia?
Oil your fingertips and press straight down into the risen dough across the surface. Work gently so you create wells without flattening every bubble.
What makes focaccia crisp on the bottom?
A thoroughly oiled pan, a fully preheated oven, and sufficient bottom heat all help. Avoid excessive moisture from toppings, and bake until the underside has developed color.
How long does homemade focaccia last?
Focaccia is best within the first day or two when stored tightly wrapped at room temperature. Freeze well-wrapped portions for longer storage and reheat them in a hot oven for the best texture.