

Making pierogi at home can seem a little intimidating, right? Like, will they turn out as good as the ones from that little Polish place downtown? I used to think so, but after digging into some old family recipes and trying a few things out, I’ve found that making pierogi that are even better than restaurant versions is totally doable. It’s all about getting the dough right, picking a tasty filling, and then cooking them up just so. Plus, it’s a fun way to spend an afternoon, especially if you get the whole family involved. Let’s get started on these amazing pierogi recipes!
Key Takeaways
- Making pierogi involves creating a simple dough, preparing your chosen filling, carefully shaping and sealing the dumplings, and then cooking them.
- The dough often includes sour cream for tenderness and ease of handling, making it easier to work with.
- Popular fillings range from classic potato and cheddar to sauerkraut and mushroom, and even sweet prune options.
- Pierogi can be boiled until they float, then pan-fried in butter and onions for a golden, slightly crispy finish.
- Homemade pierogi can be a family activity, made in large batches, and frozen for enjoying later.
Crafting The Perfect Pierogi Dough

Making pierogi dough from scratch might sound a little intimidating, but honestly, it’s pretty straightforward. The goal is a dough that’s tender but strong enough to hold all that yummy filling. It’s all about getting the right balance of ingredients and a little bit of elbow grease. This dough is the foundation for truly amazing pierogi.
Essential Ingredients For Tender Dough
The dough itself is made from simple things you probably already have in your kitchen. We’re talking flour, salt, eggs, and water. That’s the basic crew. The flour gives it structure, salt adds flavor, eggs help bind everything together and add a bit of richness, and water hydrates it all. You’ll want to use all-purpose flour for this. It’s reliable and easy to find.
Here’s a general idea of what you’ll need for a good batch:
- All-purpose flour: About 3 cups, plus extra for dusting your work surface.
- Salt: 1 teaspoon, just to make sure the dough isn’t bland.
- Eggs: 1 large egg, for binding and a little extra tenderness.
- Water: Around 1/2 cup, but you might need a little more or less depending on your flour and humidity.
The Role Of Sour Cream In Pierogi Dough
Now, here’s a little secret weapon that really makes a difference: sour cream. While not strictly traditional in every single recipe, adding a bit of sour cream to the dough makes it noticeably more tender and a lot easier to work with. It adds a subtle tang and a richness that you just can’t get from water alone. It helps keep the dough from getting tough, which is a big win when you’re rolling and shaping.
- Sour Cream: About 1/4 cup. This is where that extra tenderness comes from.
Tips For Mixing And Kneading Dough
When you start mixing, don’t just dump everything in at once. Make a little well in your flour, add the wet ingredients (egg, sour cream, and a bit of water) into the well, and start mixing with a fork. Gradually pull in the flour from the sides. This helps you control the consistency. You want a soft, pliable dough – not too sticky, not too dry. Once it comes together, turn it out onto a lightly floured surface and knead it. You’re looking for about 8 minutes of kneading until it’s smooth and elastic. It should feel nice and supple under your hands. If it’s sticking too much, add a tiny bit more flour; if it feels too stiff, a splash of water can help. After kneading, let the dough rest for about an hour. This lets the gluten relax, making it super easy to roll out later.
Resting the dough is a really important step. It makes all the difference when you’re trying to get those thin, even circles for your pierogi. Don’t skip it!
Here’s a quick rundown of the mixing and kneading process:
- Combine Dry Ingredients: Mix flour and salt in a large bowl.
- Add Wet Ingredients: Make a well in the flour, add the egg and sour cream, and start mixing with a fork.
- Incorporate Water: Gradually add water until a soft dough forms.
- Knead: Turn dough onto a floured surface and knead for about 8 minutes until smooth and elastic.
- Rest: Cover the dough and let it rest at room temperature for at least 1 hour.
Mastering Traditional Pierogi Fillings
Now that you’ve got the dough sorted, it’s time for the heart of any pierogi: the filling. This is where you can really make them your own, but sticking to a few classic combinations is a great way to start. We’re going to cover three of the most beloved fillings that are sure to impress.
Classic Potato and Cheddar Filling
This is probably the most popular pierogi filling, and for good reason. It’s simple, comforting, and incredibly satisfying. The creamy mashed potatoes mixed with sharp cheddar cheese create a flavor that’s hard to beat. Making sure your potatoes are well-drained and completely cooled before mixing is key to avoiding a gummy filling.
- 1 pound russet potatoes, peeled and diced
- 1/2 cup sharp cheddar cheese, grated
- 2 tablespoons butter
- 1/4 cup finely chopped onion
- Salt and pepper to taste
Boil the potatoes until tender, then drain them thoroughly. While the potatoes are still warm, mash them until smooth. In a separate pan, sauté the chopped onion in butter until softened and lightly golden. Mix the mashed potatoes with the sautéed onions, grated cheddar cheese, salt, and pepper. Let this mixture cool completely before using it to fill your pierogi.
Savory Sauerkraut and Mushroom Delight
For those who love a bit of tang, this filling is a winner. The earthy mushrooms and the zesty sauerkraut create a complex flavor profile that’s both unique and delicious. It’s a bit of a departure from the usual, but trust me, it’s worth trying.
- 1 cup well-drained sauerkraut
- 1 cup finely chopped mushrooms (cremini or button work well)
- 1/2 cup finely chopped onion
- 2 tablespoons butter
- Salt and pepper to taste
Sauté the chopped onion in butter until translucent. Add the chopped mushrooms and cook until they release their liquid and start to brown. Stir in the well-drained sauerkraut, salt, and pepper. Cook for another 5-10 minutes, allowing the flavors to meld. Let the mixture cool completely.
Sweet and Tangy Prune Filling
Don’t knock it ’til you try it! Prune-filled pierogi are a traditional dessert or sweet treat in many Polish households. The natural sweetness of the prunes, balanced with a hint of lemon and a touch of sugar, makes for a surprisingly delightful experience. These are often served with a sprinkle of toasted breadcrumbs and a pat of butter.
- 1 cup pitted prunes, chopped
- 2 tablespoons sugar
- 1 tablespoon lemon juice
- 2 tablespoons plain breadcrumbs
- 1 tablespoon butter
Simmer the chopped prunes in a small amount of water until softened. Drain any excess water. Stir in the sugar and lemon juice. In a separate small pan, toast the breadcrumbs in butter until lightly golden. Mix the toasted breadcrumbs into the prune mixture. Allow this to cool before filling.
Preparing your fillings ahead of time is a game-changer. Letting them cool completely not only makes them easier to handle but also prevents the dough from becoming sticky or tearing when you’re stuffing the pierogi. It’s a small step that makes a big difference in the final outcome.
Shaping And Sealing Your Pierogi
Alright, so you’ve got your dough ready and your fillings prepped. Now comes the part where it all comes together – making the actual pierogi. It might seem a little fiddly at first, but trust me, once you get the hang of it, it’s pretty satisfying. The key here is a good seal; you don’t want any of that delicious filling escaping during cooking.
Rolling The Dough To Perfection
First things first, let’s talk about the dough. You want to roll it out nice and thin, but not so thin that it tears easily. Aim for about 1/16th of an inch. If you’re having trouble rolling it out, don’t force it. Just let it rest for a bit, covered, at room temperature. The gluten needs to relax, and then it’ll be much easier to work with. Use just enough flour to keep it from sticking to your counter and rolling pin – too much flour can make the dough tough and less pliable.
Stuffing And Folding Techniques
Once your dough is rolled out, you’ll cut out circles. A 3-inch round cutter works great, but honestly, a sturdy glass or even the rim of a can will do the trick. Now, take a dough circle and place a small spoonful of your chosen filling right in the center. Don’t overstuff it, or you’ll have a hard time sealing it. Gently fold the dough circle in half to create a half-moon shape, making sure the filling stays put.
Achieving A Secure Crimp
This is where the magic happens, and where you want to be a little careful. To seal the edges, you can brush a tiny bit of water around the rim of the dough before folding. Then, pinch the edges together firmly with your fingers. You want a good, tight seal. If you want to get fancy, or just make sure they’re extra secure, you can use a fork to crimp the edges. Different patterns can even help you remember which filling is which if you make a few varieties!
Here are a few crimping ideas:
- Simple Pinch: Just press the edges together firmly with your fingers.
- Fork Crimp: Use the tines of a fork to press down along the edge, creating a ridged seal.
- Decorative Braid: A more advanced technique, but it looks really impressive!
Don’t get discouraged if your first few don’t look perfect. Pierogi are meant to be rustic and homemade. The most important thing is that they hold their filling.
Once they’re shaped and sealed, place them on a parchment-lined baking sheet. If you’re not cooking them right away, cover them with a clean kitchen towel to prevent them from drying out while you work on the rest.
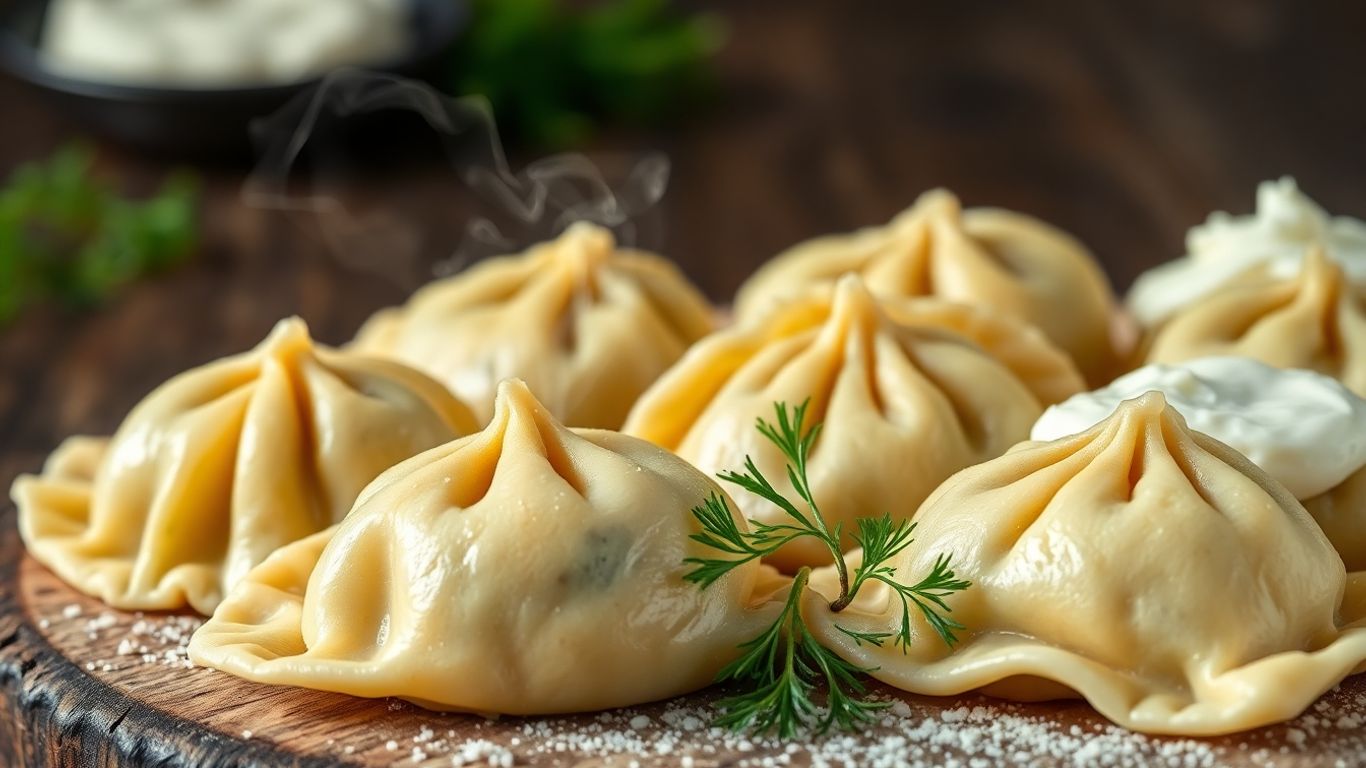
The Art Of Cooking Pierogi
So, you’ve spent time crafting the perfect dough and filling, and now it’s time for the main event: cooking! This is where your beautiful creations go from raw ingredients to delicious, pillowy dumplings. Don’t be intimidated; it’s a straightforward process, and with a little care, you’ll have pierogi that are just right.

Boiling To Pillowy Perfection
First things first, you’ll want to get a big pot of water going. Fill a large pot, at least 6-8 quarts, with water and add a good pinch of salt. Bring it to a rolling boil. This is where your pierogi will get their initial cook. Carefully drop your pierogi into the boiling water, but don’t overcrowd the pot – cook them in batches. Give them a gentle stir with a spoon to make sure they don’t stick to each other or the bottom of the pot. You’ll know they’re almost ready when they start to float to the surface. Once they float, let them cook for about 5 more minutes. This ensures the dough is cooked through and the filling is nice and warm.
Achieving A Golden Brown Sear
Boiling is great, but for that extra bit of flavor and texture, searing is the way to go. After you’ve boiled your pierogi and scooped them out with a slotted spoon or spider strainer, you can move them straight into a skillet. Melt some butter in a large skillet over medium heat. Add your boiled pierogi and let them cook, undisturbed for a few minutes, until they get a lovely golden-brown color on one side. Then, flip them over and sear the other side. This step adds a wonderful crispness that you just can’t get from boiling alone. This browning step is key to beating any restaurant pierogi.
Frying With Butter And Onions
For a truly classic and comforting finish, frying in butter with onions is a winner. Once your pierogi are boiled and you’ve achieved that nice sear, you can add some sliced onions to the same skillet. Cook the onions in the butter until they’re soft and golden brown, almost caramelized. This infuses the butter with a sweet, savory flavor that coats the pierogi beautifully. You can also add a bit of bacon if you’re feeling fancy. Serve them right out of the pan, making sure to spoon some of those buttery, oniony bits over the top. It’s simple, but oh-so-good.
Remember, the goal here is to cook them through without making them mushy. Gentle handling and paying attention to the cooking times will make all the difference. Don’t be afraid to taste one to check for doneness!
Elevating Your Pierogi Experience
So, you’ve gone through all the work of making these amazing pierogi, and now it’s time to really make them shine. It’s not just about the dumpling itself, but what you put on it and how you serve it. Think of it as the grand finale to your culinary masterpiece.
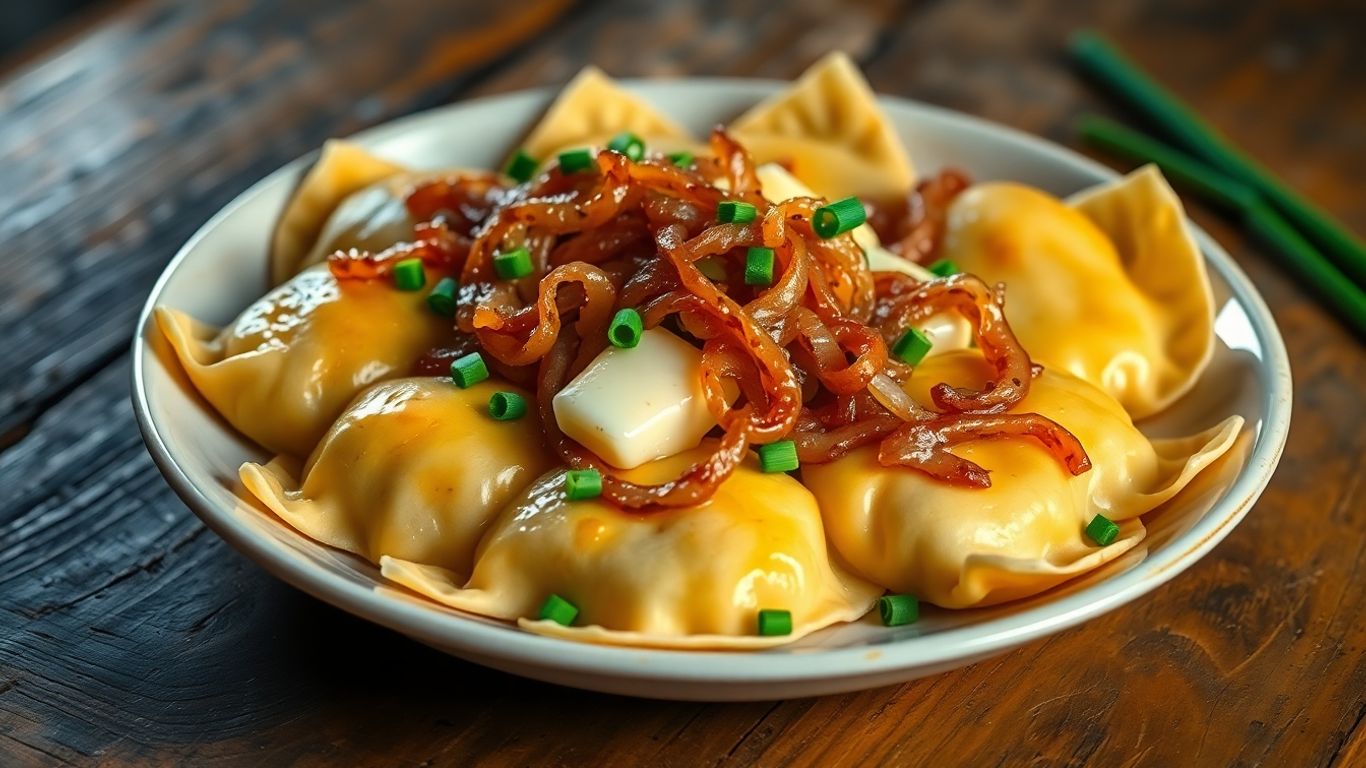
Classic Toppings: Caramelized Onions and Bacon
Let’s talk about the real stars of the show when it comes to toppings. Caramelized onions are a must. They take a little time, sure, but the sweet, deep flavor they bring is totally worth it. You want them soft, golden brown, and just a little bit sticky. And bacon? Well, who doesn’t love crispy bacon bits? They add that salty crunch that just makes everything better. Together, they’re a match made in pierogi heaven.
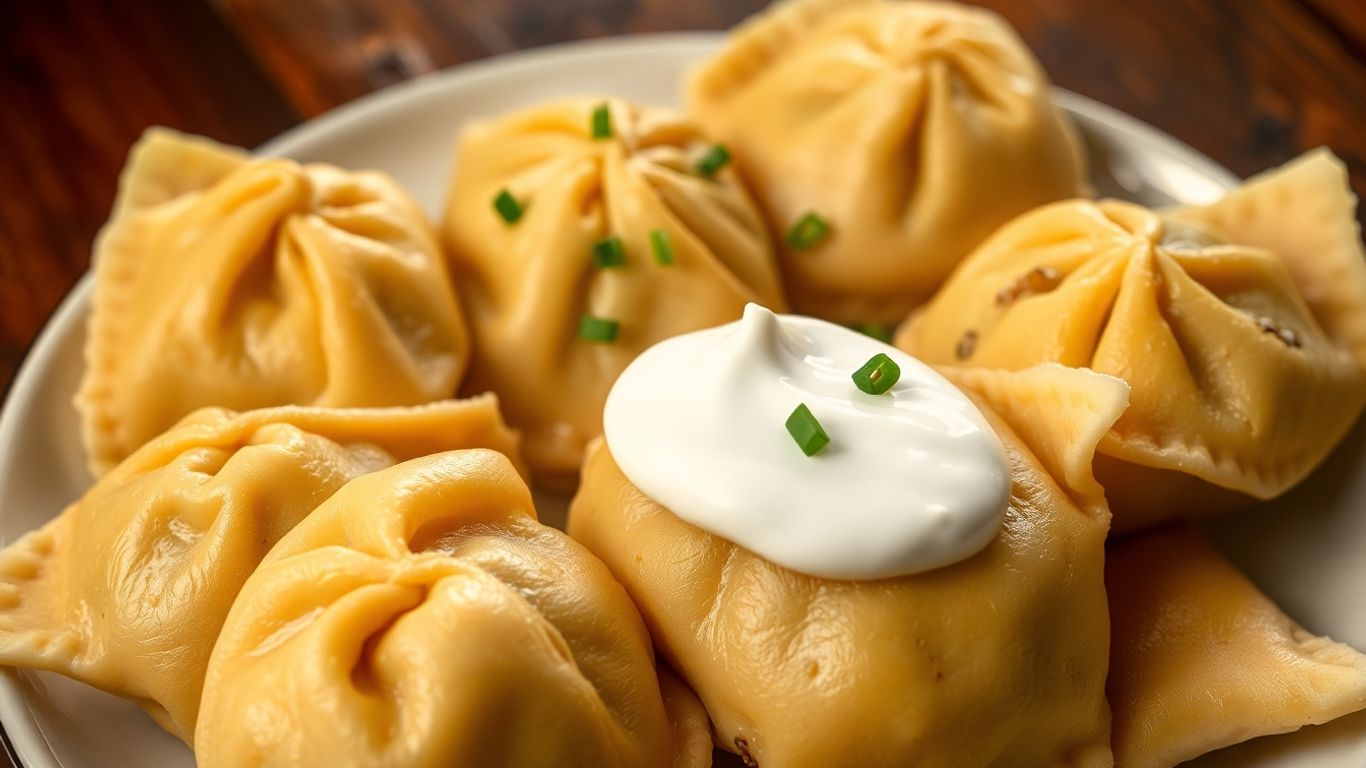
Serving With a Dollop of Sour Cream
This is a simple one, but it makes a big difference. A generous spoonful of cool, tangy sour cream cuts through the richness of the pierogi and toppings. It’s like a little bit of creamy relief with every bite. If sour cream isn’t your thing, plain Greek yogurt works just as well, offering a similar tang without being quite as rich.
Creative Garnishes for Extra Flavor
Don’t be afraid to get a little fancy! Fresh chives or parsley chopped up and sprinkled over the top add a pop of color and a hint of freshness. A little sprinkle of paprika can add a subtle warmth and visual appeal. For a bit of a kick, try a tiny drizzle of your favorite hot sauce. And if you’re feeling adventurous, some toasted breadcrumbs can add a delightful texture, especially with sweeter fillings.
Making Pierogi A Family Affair
Making pierogi from scratch can feel like a big undertaking, but it’s actually a fantastic way to get everyone involved. Think of it as a culinary team-building exercise! The more hands you have, the faster and more fun the process becomes. It’s a wonderful tradition to pass down, and kids especially love the hands-on aspect of shaping and filling the little dumplings. My own kids get so excited when we pull out the flour and start rolling.
Involving Kids In The Process
Getting children involved is easier than you might think. Even little ones can help with simple tasks. You can set them up with a small portion of dough to play with, or have them help spoon fillings onto the dough rounds. Older kids can take on more responsibility, like helping to seal the edges or even cutting out the dough circles. It’s a great way to teach them about where food comes from and the satisfaction of making something delicious together. Just be prepared for a little extra flour on the floor – it’s all part of the fun!
Batch Cooking For Future Feasts
One of the best things about making pierogi is that they freeze so well. This means you can make a huge batch when you have the time and energy, and then enjoy them for weeks or even months to come. It’s a lifesaver for busy weeknights when you want a homemade meal without all the work. We usually aim to make at least 50-100 pierogi in one go, which sounds like a lot, but they disappear quickly!
Here’s a rough idea of how many pierogi you might get from a standard batch:
| Dough Batch Size | Approximate Number of Pierogi |
|---|---|
| 2 cups flour | 20-25 |
| 4 cups flour | 40-50 |
Freezing Pierogi For Later Enjoyment
Freezing pierogi is super simple. Once you’ve shaped and sealed them, lay them out in a single layer on a baking sheet lined with parchment paper. Make sure they aren’t touching each other. Pop the whole baking sheet into the freezer for about an hour, or until the pierogi are firm. This ‘flash freezing’ step prevents them from sticking together in a big clump. After they’re frozen solid, you can transfer them to freezer bags or containers. They’ll keep for a good few months. When you’re ready to cook them, you can usually boil them straight from frozen, just add a few extra minutes to the cooking time. It’s like having a little bit of homemade comfort ready whenever you need it. You can find more tips on making traditional Ukrainian perogies if you want to explore different styles.
Making pierogi is more than just cooking; it’s about creating memories. It’s about the laughter, the shared stories, and the satisfaction of a job well done, all wrapped up in a delicious, handmade dumpling. Don’t stress about perfection; focus on the connection.
Your New Favorite Pierogi
So there you have it – a taste of true Polish comfort food, right in your own kitchen. Making these pierogi might take a little time, but honestly, it’s totally worth it. The dough is soft, the fillings are delicious, and that final step of pan-frying them until they’re golden? Perfection. Forget those frozen ones or even the ones you get at most restaurants; this recipe is the real deal. It’s the kind of food that brings people together, perfect for a family dinner or a fun weekend project. Give it a shot, and I bet you’ll be making these pierogi again and again.
Frequently Asked Questions
What exactly are pierogi?
Pierogi are like little dumplings. They’re made from a simple dough, usually just flour, eggs, and water. You fill them with yummy things, either savory like cheese and potatoes, or sweet like fruit. Then you cook them, usually by boiling them first, and sometimes frying them until they’re golden.
What’s the secret to making the dough soft and easy to work with?
A little bit of sour cream in the dough makes it super tender and much easier to handle. It adds a slight tanginess too, which is a nice touch. Just don’t use too much flour when you’re rolling it out, or it can get tough.
Can I make the fillings ahead of time?
Yes, definitely! It’s actually a good idea to make your fillings the day before. This lets them cool down completely, making them easier to stuff into the dough without making it sticky or hard to work with.
How do I make sure the pierogi don’t leak when I cook them?
The key is to seal the edges really well. After you fold the dough over, pinch the edges together firmly. You can even use a fork to crimp them for an extra secure seal. Make sure there are no little gaps where the filling can escape.
What’s the best way to cook pierogi?
Most recipes start by boiling the pierogi in salted water until they float. After they float, let them cook for a few more minutes. Then, you can serve them as is, or for extra flavor, fry them in butter with onions until they’re golden brown and a little crispy.
Can I freeze pierogi to eat later?
Absolutely! You can freeze them before you boil or fry them. Lay them flat on a baking sheet so they don’t stick together, freeze them until solid, then put them in a freezer bag. When you want to eat them, just boil and fry as usual.