
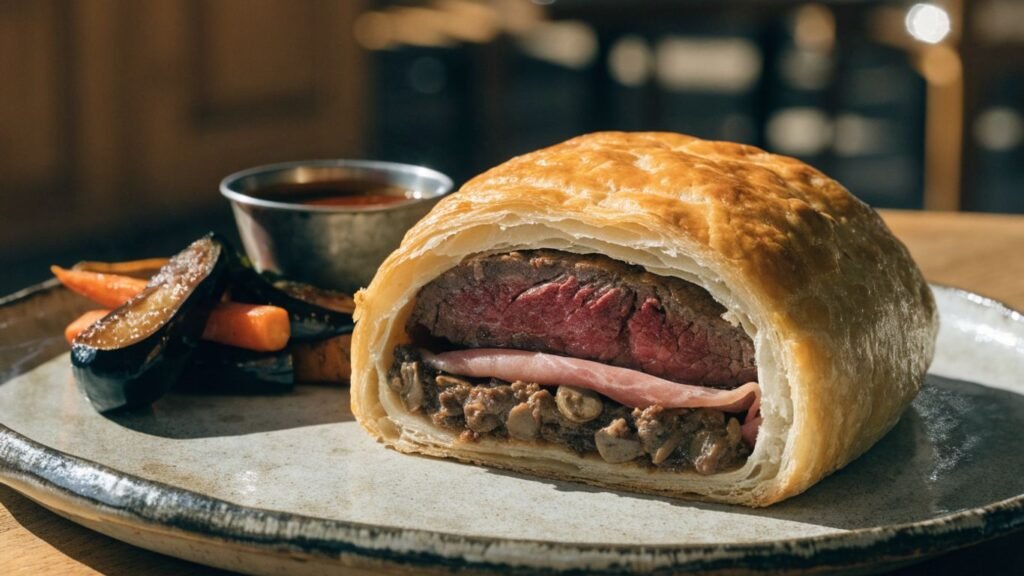
Key Takeaways
Beef Wellington is a project, but a few careful choices make it manageable on a first try. Keep the filling dry, work with cool ingredients, and let a thermometer guide the bake.
- Choose an evenly shaped beef tenderloin for more consistent cooking.
- Sear the beef and cool it before wrapping.
- Cook the mushrooms until their moisture has evaporated.
- Chill the assembled Wellington and use an instant-read thermometer.
- Rest the roast before slicing so the pastry stays neat and crisp.
What you need for an easy Beef Wellington
A good Beef Wellington begins with a short list of ingredients and a little planning. The pastry, beef, and mushroom filling each have a job: crisp outside, tender center, and savory layer in between. Keep the ingredients simple, and take time to choose pieces that are easy to handle.
Choosing a tender cut of beef
Beef tenderloin is a natural choice because it is tender and can be shaped into a compact roast. Look for a center-cut piece with an even thickness from end to end; a tapered tail cooks more quickly and can make the finished Wellington uneven. If needed, fold the thinner end underneath and tie the roast with kitchen twine before searing. For a first attempt, an even shape is more useful than buying the largest piece you can find.
Picking store-bought puff pastry
Frozen puff pastry makes this recipe more approachable, and it bakes into crisp, flaky layers without requiring you to make dough from scratch. Thaw it according to the package directions, usually in the refrigerator, so it is pliable but still cool when you unfold it. If it becomes warm or sticky while you work, return it to the refrigerator for a few minutes rather than stretching it over the filling. Keep a little extra flour nearby for rolling, but use it sparingly so the pastry does not turn tough.
Gathering mushrooms, prosciutto, mustard, and seasonings
Set everything out before cooking, including the egg for brushing the pastry. These approximate amounts suit a tenderloin around 2 to 2½ pounds; check your pastry package and adjust the size of the sheet to fit your roast. If you want another recipe perspective before starting, this step-by-step Wellington recipe offers a useful point of comparison.
| Ingredient | Approximate amount | What it does |
|---|---|---|
| Beef tenderloin | 2 to 2½ pounds | Forms the tender center |
| Puff pastry | 1 large sheet | Wraps the roast in a flaky crust |
| Mushrooms | 12 ounces | Make a savory, finely chopped filling |
| Prosciutto | 6 to 8 thin slices | Adds a savory layer around the filling |
| Mustard and egg | 2 tablespoons mustard; 1 egg | Seasons the beef and helps brown the pastry |
Salt, black pepper, and a little neutral oil round out the basics. You can add finely chopped shallot or thyme to the mushrooms, but resist adding wet ingredients that would make the filling harder to dry out.
How to prepare the beef and mushroom filling
The most useful preparation habit is to let each cooked component cool before it meets the pastry. Hot beef can soften the dough, while a wet mushroom mixture can leave the bottom crust damp. Treat this stage as a chance to build flavor and remove excess moisture, not as a race to assemble everything at once.
Searing the beef for a flavorful crust
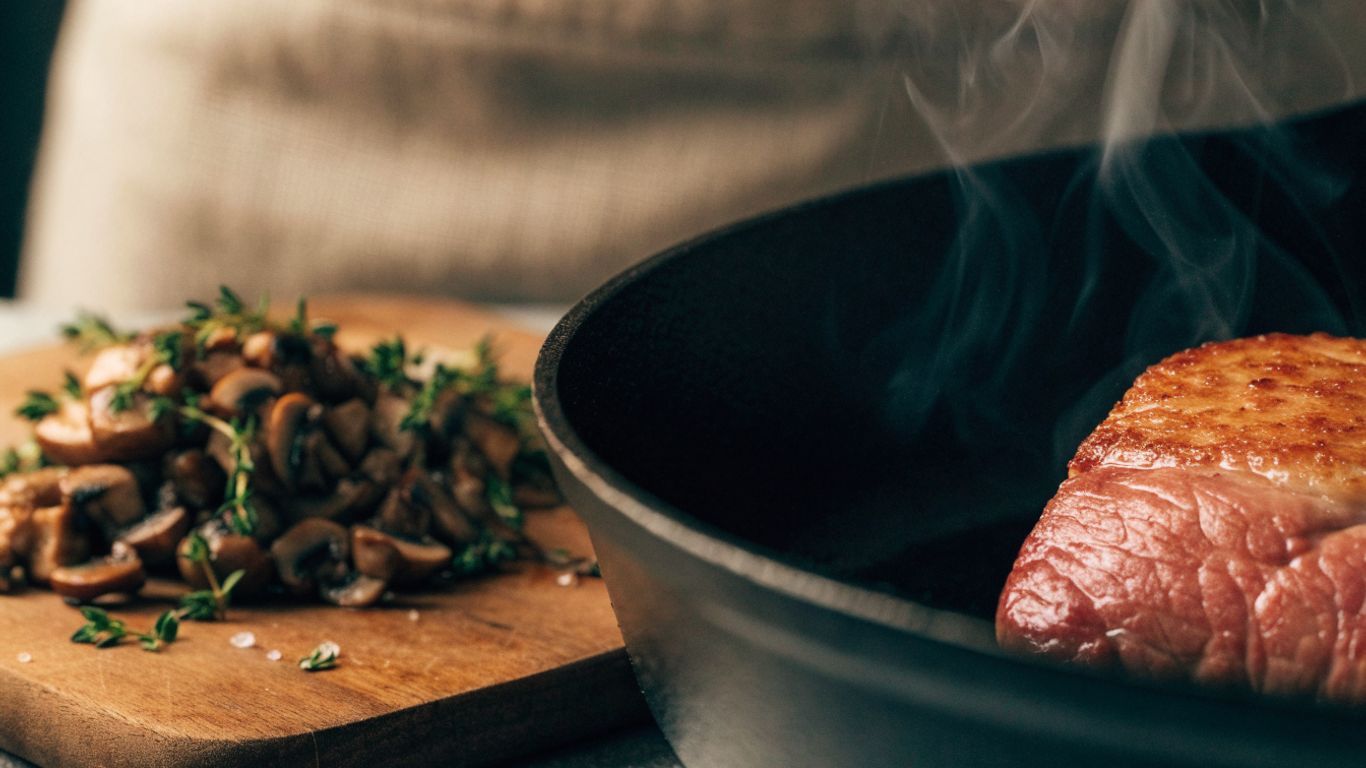
Pat the tenderloin dry and season it well with salt and pepper. Heat a little oil in a heavy skillet until shimmering, then sear the beef on all sides, including the ends, until it has a browned crust. The goal is color, not to cook the center through; the oven will finish the job later. Transfer it to a plate or rack, and use clean tongs after handling the raw meat.
Cooling the beef before wrapping
Brush the warm roast lightly with mustard if you prefer to season it at this stage, then let it cool completely. A brief rest on a rack helps air circulate around the surface, and chilling it afterward can make the beef easier to wrap. Cool components protect the pastry from softening before it goes into the oven. If you are preparing ahead, keep the beef covered in the refrigerator and assemble only when the mushroom mixture is cool too.
Cooking the mushrooms until their moisture evaporates
Finely chop the mushrooms by hand or pulse them briefly in a food processor. Cook them in a wide skillet over medium heat, stirring often, until they release their liquid and the pan looks dry; this can take 10 to 15 minutes depending on the mushrooms and pan. Add salt toward the end, then spread the mixture on a plate to cool. It should be concentrated and spreadable, not glossy with liquid, because a dry filling is one of the simplest ways to protect the pastry.
How to assemble Beef Wellington
Assembly is easier when the pastry is cold but flexible and the beef and mushroom mixture are fully cooled. Work on a lightly floured surface, and keep the finished package seam-side down. The aim is a snug wrap without forcing the pastry to stretch thin over the roast.
Spreading mustard over the seared beef
If you have not brushed on mustard already, use a thin, even layer over the cooled beef. Dijon-style mustard brings a gentle tang that balances the rich pastry and beef, but use enough to season rather than coat the roast heavily. A thick layer can make the outside slippery and harder to wrap. Let the mustard sit for a minute while you prepare the prosciutto layer.
Layering prosciutto and mushroom filling

Lay overlapping slices of prosciutto across a sheet of plastic wrap, making a rectangle wide enough to cover the roast. Spread the cooled mushroom mixture evenly over the prosciutto, leaving a small border around the edges. Set the beef near one side and use the plastic wrap to roll the layers around it, tightening gently as you go. This short sequence helps keep the filling in place without pressing hard on the meat:
- Overlap the prosciutto slices to make a continuous layer.
- Spread the mushroom mixture in a thin, even coat.
- Place the beef along the near edge of the mushroom-covered layer.
- Roll it up with the plastic wrap, then twist the ends to tighten.
Unwrap the chilled bundle carefully before placing it on the pastry. The prosciutto should encase the filling, and the bundle should hold its shape without being squeezed so tightly that the mushroom layer is pushed out.
Wrapping the beef snugly in puff pastry
Roll the pastry just enough to make a sheet that can fully enclose the beef, then place the bundle near one edge. Fold the pastry around it and seal the seam with a little beaten egg; trim excess dough so the overlap is not thick. Tuck the ends underneath, pinching gently to close any gaps. If the pastry starts to feel soft, pause and chill it rather than tugging, which can cause tears.
How to bake Beef Wellington to the right doneness
A cold Wellington gives the pastry a better chance to puff before the beef overcooks. Preheat the oven fully, and place the wrapped roast on a parchment-lined baking sheet with the seam underneath. Baking time depends on the roast’s thickness, the pastry, and the oven, so use timing as a guide and temperature as the final check.
Chilling the wrapped Wellington before baking
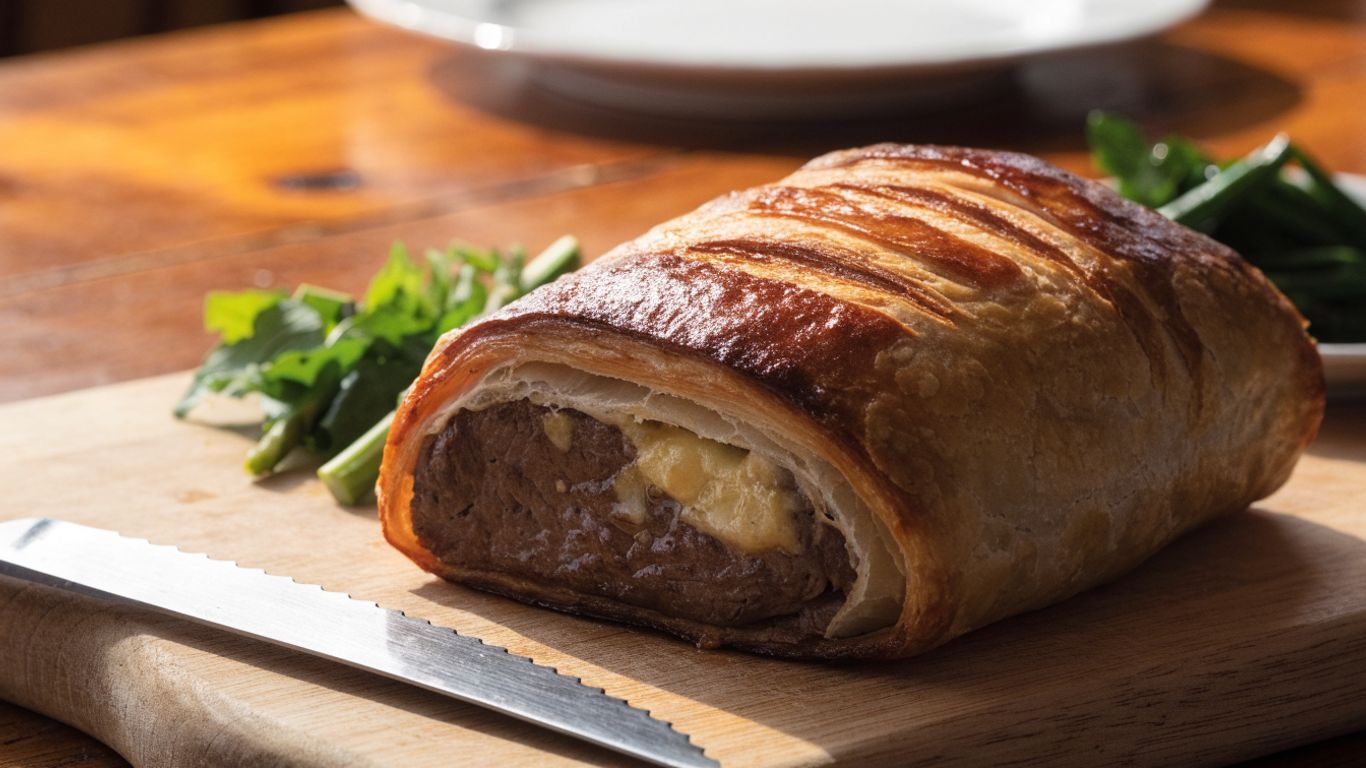
Once wrapped, refrigerate the Wellington for about 20 to 30 minutes, or until the pastry feels firm. This short chill helps the package keep its shape and makes it easier to score the surface without pulling the dough. If you have chilled it for much longer, allow a few minutes on the counter while the oven finishes heating, but do not leave raw beef out for an extended period.
Using an egg wash and adding pastry vents
Brush the outside with beaten egg for a glossy, golden finish. Use a sharp knife to make a few shallow slashes or small vents in the top, taking care not to cut through the filling. The vents give steam a way to escape, while decorative scoring can add a polished look without adding extra work. Keep the cuts modest so the pastry remains intact around the roast.
Checking the center with a meat thermometer
Bake in a hot oven, around 400°F, and begin checking the center before you expect the Wellington to be done; a medium-sized roast often takes roughly 35 to 45 minutes, but size and oven behavior vary. Insert an instant-read thermometer through a vent or from the end into the center of the beef, avoiding the pan. For guidance, common finished temperatures are about 125°F for rare, 130 to 135°F for medium-rare, and 140°F for medium; carryover heat may raise the reading slightly while it rests. Choose the doneness you prefer and remember that lower temperatures do not meet the USDA recommendation of 145°F followed by a three-minute rest for whole cuts of beef.
Common beginner mistakes and how to avoid them
Most first-time problems come down to moisture, temperature, or rushing the wrap. A few small checks along the way can prevent the pastry from becoming soggy or opening in the oven. If something does not look perfect before baking, do not panic; a well-sealed seam and careful thermometer check matter more than elaborate decoration.

Preventing soggy pastry with a dry mushroom filling
Mushrooms contain a surprising amount of water, and that moisture needs to cook off before the filling is wrapped. Keep the pan uncovered and continue cooking if liquid still pools at the bottom. Let the mixture cool spread out on a plate instead of leaving it steaming in a bowl. A dry, cool filling is easier to spread and gives the pastry a better chance of baking crisp.
Keeping the pastry from tearing or opening
Pastry tears most often when it is too warm, too thin, or stretched to cover an oversized bundle. Keep the sheet cool, roll it evenly, and use a small patch of pastry to cover a minor tear before baking. Seal the main seam with egg wash and position it underneath. Leave enough overlap to close the package, but trim away bulky extra layers that may bake unevenly.
Avoiding overcooked beef with a thermometer
A Wellington can look beautifully browned before the center reaches your preferred doneness, so color alone is not a reliable signal. Start checking early and take the temperature in the thickest part of the beef. If the pastry is browning too quickly while the center needs more time, loosely tent the top with foil. A thermometer is more dependable than guessing from the clock, especially when the tenderloin is an unusual shape.
How to rest, slice, and serve Beef Wellington
Once the Wellington comes out of the oven, give it time to settle before cutting. That short pause helps the juices redistribute and keeps the layers from shifting under the knife. Bring it to the table whole if you like, then slice with a sharp serrated knife for a clear view of the beef, mushroom filling, and pastry.
Resting the Wellington before cutting
Transfer the roast to a board and let it rest for about 10 to 15 minutes. Avoid covering it tightly, since trapped steam can soften the crust; a loose tent of foil is enough if you need to keep it warm. The pastry will remain crispest when air can circulate. Use the resting time to finish the sides and warm a sauce.
Slicing clean portions without crushing the pastry
Use a long, sharp serrated knife and a gentle sawing motion rather than pressing straight down. Wipe the blade between cuts if the filling begins to cling, and make slices thick enough to hold their shape. If the pastry cracks a little, keep going gently; a rustic edge does not change the flavor. Arrange each portion with the cut side facing up so the layers show.
Pairing it with simple sides and sauce
Beef Wellington is rich, so simple sides make a good balance: roasted green vegetables, a crisp salad, or mashed potatoes all work well. A red wine sauce or a light pan sauce can complement the savory beef without overwhelming it, and a small pour of wine is a welcome option for the table. Keep the accompaniments ready before slicing, since the pastry is at its best soon after resting.
Conclusion
For an easy beef wellington for beginners, take the process one stage at a time: choose an evenly shaped tenderloin, dry the mushroom filling well, keep the pastry cool, and trust the thermometer. The result is a crisp, savory centerpiece that feels special without requiring perfect pastry skills.
Frequently Asked Questions
Can I make Beef Wellington ahead of time?
You can prepare the beef and mushroom filling in advance, cool them, and refrigerate them separately. Assemble the Wellington closer to baking time so the pastry stays cold and the filling does not release moisture into it.
What cut of beef works best for Beef Wellington?
Beef tenderloin is a popular choice because it is tender and can be shaped into an even roast. A center-cut piece is often easier to cook evenly than a tapered cut.
How do I keep the bottom pastry from getting soggy?
Cook the mushrooms until their moisture has evaporated, let the filling cool, and avoid wrapping warm ingredients. Chilling the finished Wellington before baking also helps the pastry hold its shape.
Do I need to use prosciutto?
Prosciutto is a traditional savory layer in many versions, but recipes vary. If you leave it out, take extra care to keep the mushroom filling dry and the wrap snug.
How long should Beef Wellington bake?
The time depends on the size and shape of the roast and how cold it is when it goes into the oven. Start checking before the expected finish and use a thermometer to judge the beef’s center.
What temperature should Beef Wellington be for medium-rare?
Many cooks aim for a final center temperature around 130 to 135°F for medium-rare. Carryover heat can raise the temperature during resting, and food-safety recommendations for whole cuts of beef are higher.
Why did my puff pastry split while baking?
The pastry may have been stretched too thin, warmed too much, or left with an unsealed seam. Keep it cool, allow enough overlap, and place the seam underneath on the baking sheet.